本文使用官方资源 Vehicle 的 car, 使用 Smoke 粒子系统模拟启动发动、运行、故障等场景效果,完善“汽车尾气”模拟
场景布置
我们需要先导入Unity3D 官方资源包Standard Assets,该资源包已经不再内置,而且资源商店也没有,我提供一份附在这里。
Standard Assets.unitypackage(68.4M)
网上找来的资源包导入后,可能会有一些问题,可参考:
https://blog.csdn.net/Sakuya__/article/details/113815974
我们导入资源包后,先在场景中放置一个3D平面对象(plane),然后在资源包中找到Vehicle 的 car的预制,拖入场景中,效果如下图: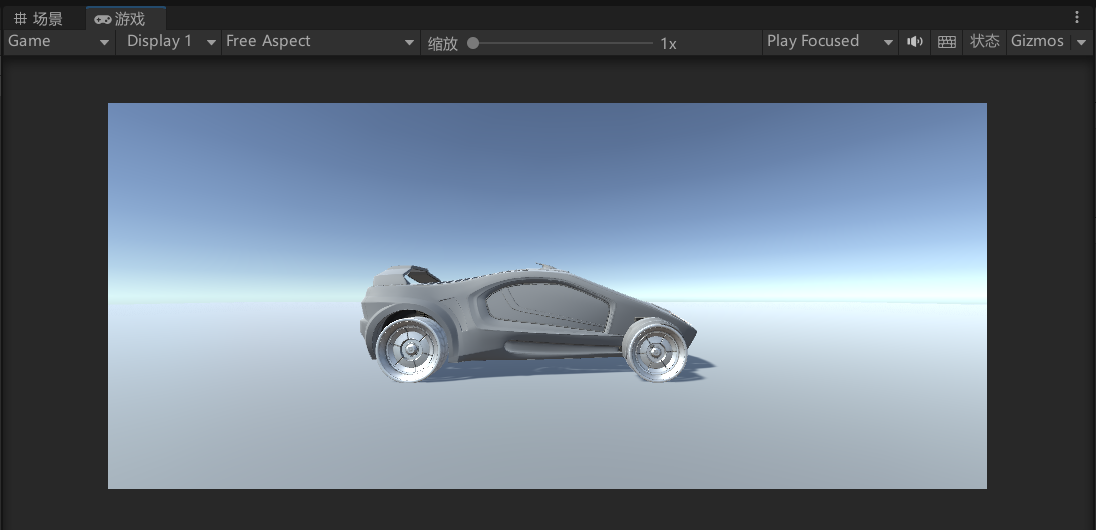
粒子效果模拟
根据要求,我们模拟启动发动、运行、故障三种场景的尾气效果。
预制的Car里面的Particles里有一个Smoke粒子系统ParticleBurnoutSmoke。我们的粒子系统叫做start、run和damage。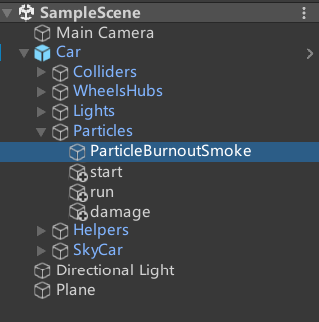
在检查器中,粒子系统有很多设置选项,我们可以根据自己的需要选择。由于Standard Assets资源包内置了一些材质,我们可以在粒子系统的渲染器(render)-材质(material)选项中选用,从而让粒子有不同的形状。
为了展示不同的尾气效果,我们编写脚本CarStatus加到Car这个游戏对象上,功能为按下键盘上的数字选择尾气的效果(数字1-4)。
public class CarStatus : MonoBehaviour
{
    // 定义需要切换的粒子效果
    public ParticleSystem[] particleSystems;
    // 当前粒子效果的索引
    public int currentIndex = 0;
    void Start()
    {
        particleSystems = new ParticleSystem[4];
        particleSystems[0] = transform.Find("Particles/ParticleBurnoutSmoke").GetComponent<ParticleSystem>();
        particleSystems[1] = transform.Find("Particles/start").GetComponent<ParticleSystem>();
        particleSystems[2] = transform.Find("Particles/run").GetComponent<ParticleSystem>();
        particleSystems[3] = transform.Find("Particles/damage").GetComponent<ParticleSystem>();
        // 将所有粒子效果关闭
        for (int i = 0; i < particleSystems.Length; i++)
        {
            particleSystems[i].Stop();
        }
    }

    void Update()
    {
        // 当按下键盘对应数字键时,切换粒子效果
        if (Input.GetKeyDown(KeyCode.Alpha1))
        {
            // 将当前粒子效果关闭
            particleSystems[currentIndex].Stop();
            // 将当前粒子效果索引设置为0
            currentIndex = 0;
            // 将当前粒子效果打开
            particleSystems[currentIndex].Play();
        }
        else if (Input.GetKeyDown(KeyCode.Alpha2))
        {
            particleSystems[currentIndex].Stop();
            currentIndex = 1;
            particleSystems[currentIndex].Play();
        }
        else if (Input.GetKeyDown(KeyCode.Alpha3))
        {
            particleSystems[currentIndex].Stop();
            currentIndex = 2;
            particleSystems[currentIndex].Play();
        }
        else if (Input.GetKeyDown(KeyCode.Alpha4))
        {
            particleSystems[currentIndex].Stop();
            currentIndex = 3;
            particleSystems[currentIndex].Play();
        }
    }
}为了方便观察,我们把之前项目中CameraMove脚本也拿来稍作修改,附加到主摄像头上。
public class CameraMove : MonoBehaviour
{
    public GameObject follow;  // 跟随的对象
    public float speed = 8f;  // 相机跟随的速度
    Vector3 offset;  // 相机与物体相对偏移位置

    void Start()
    {
        follow = GameObject.Find("Car");
        offset = transform.position - follow.transform.position;
    }

    void FixedUpdate()
    {
        Vector3 target = follow.transform.position + offset;  // 计算目标位置
        transform.position = Vector3.Lerp(transform.position, target, speed * Time.deltaTime);  // 摄像机自身位置到目标位置平滑过渡
    }
}
粒子效果展示
当按下“2”键,展示启动发动场景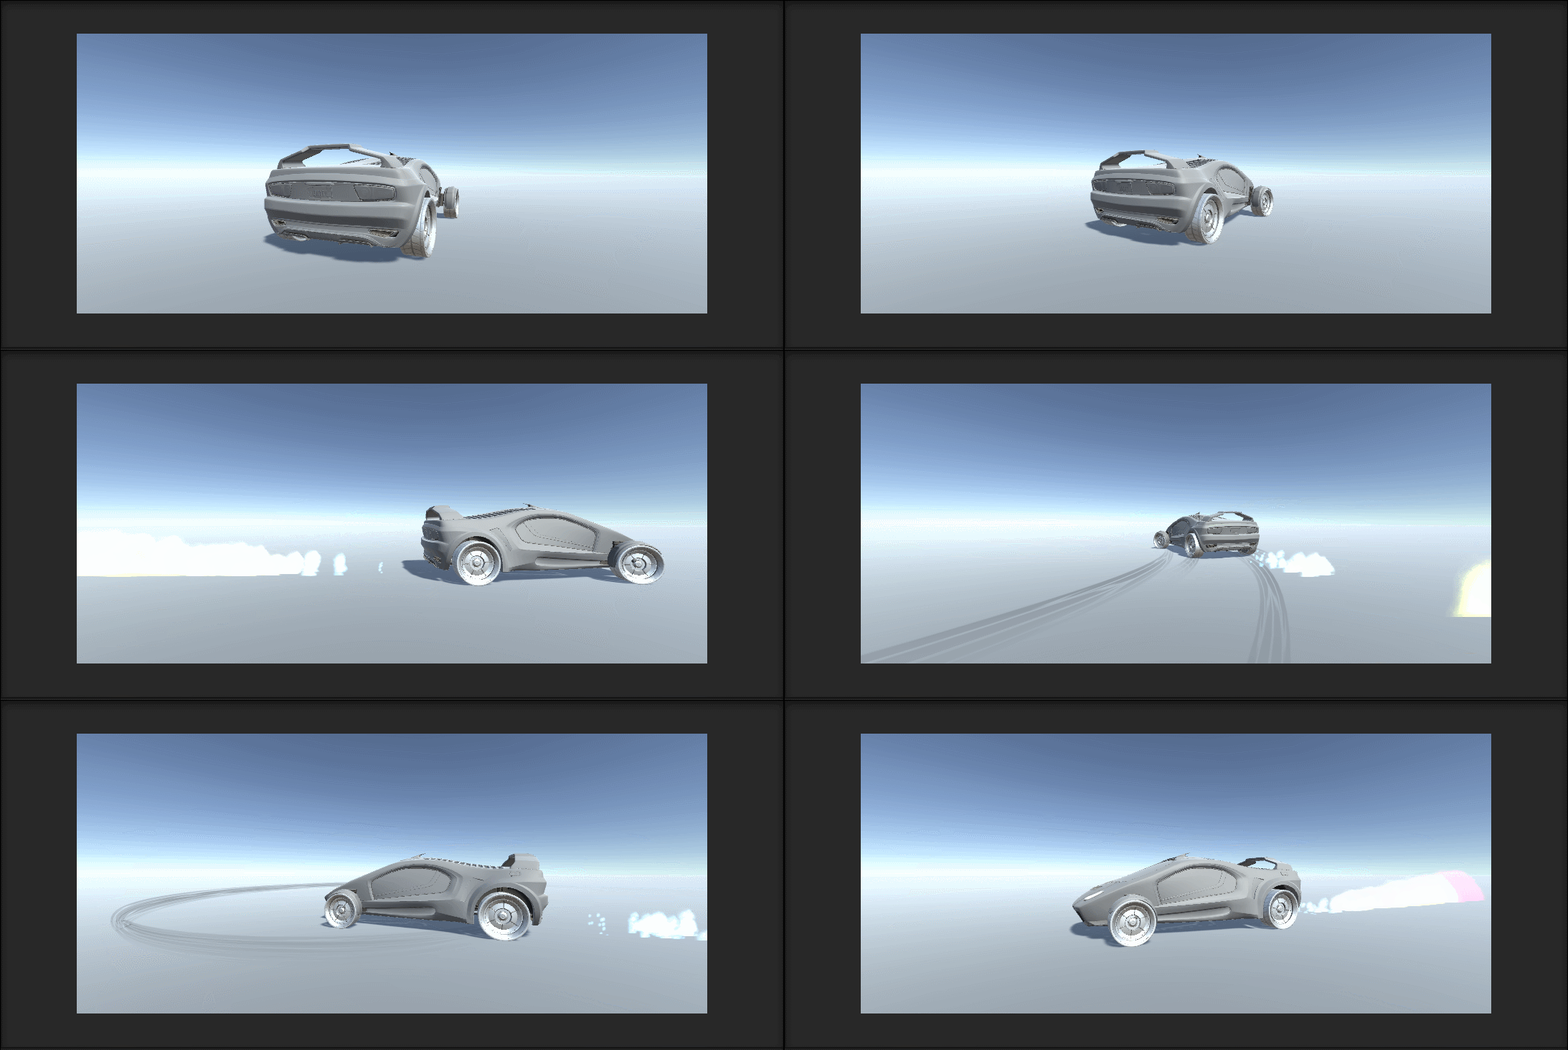
当按下“3”键,展示运行场景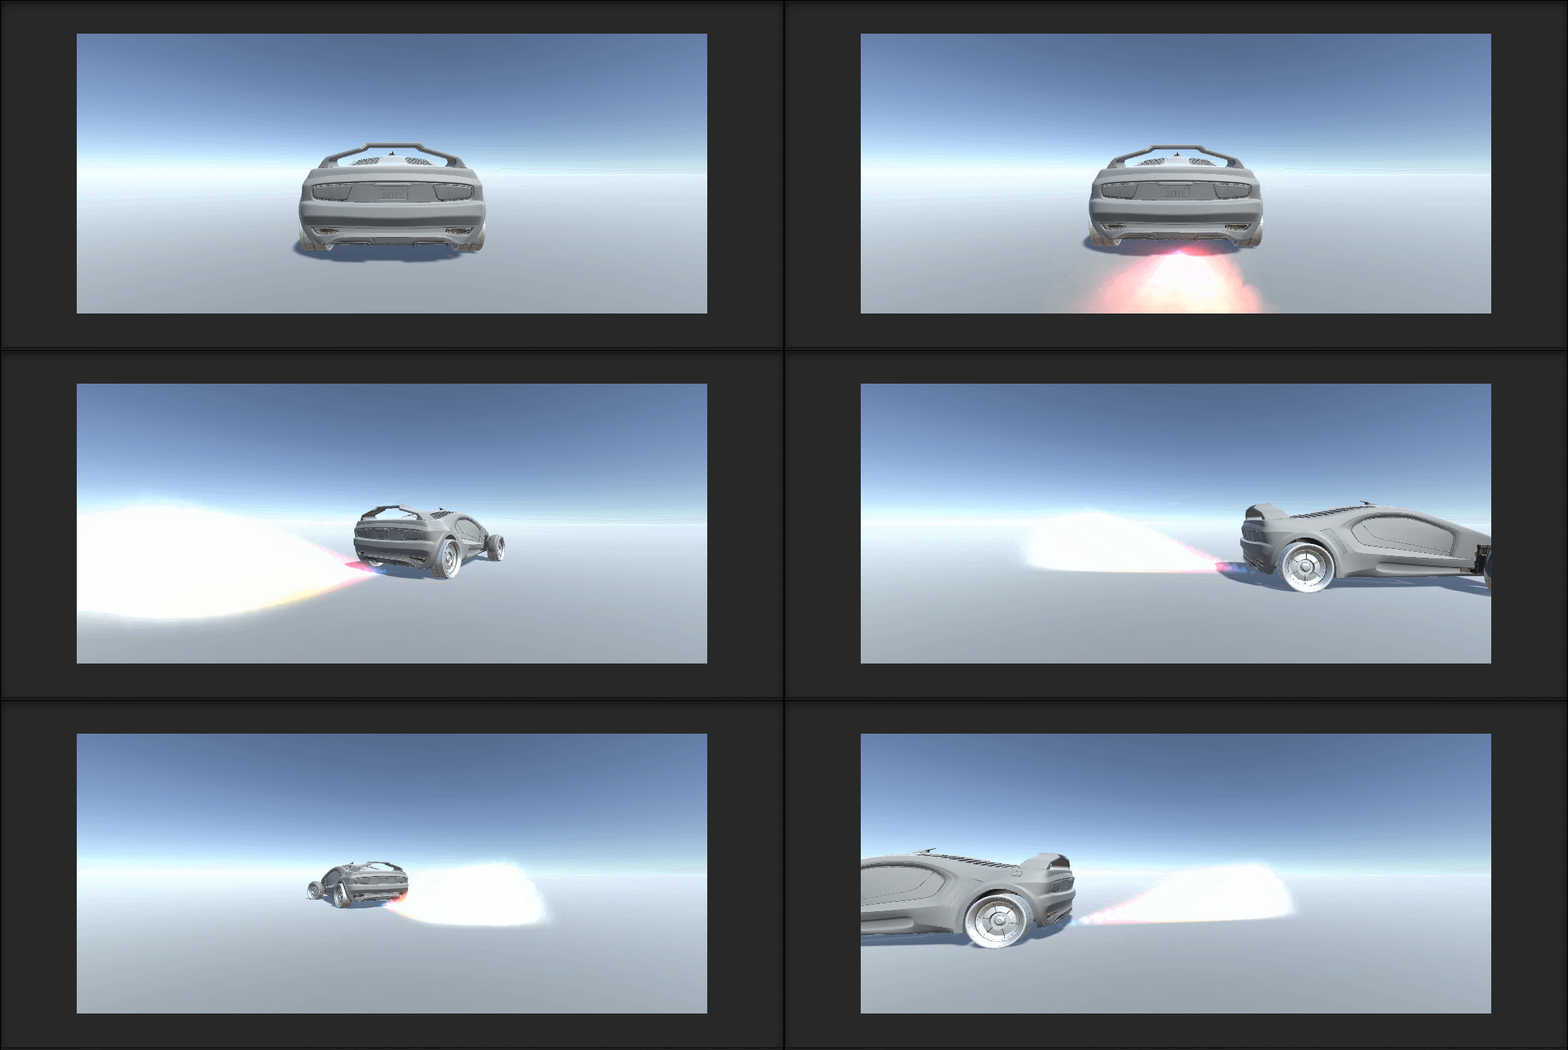
当按下“4”键,展示故障场景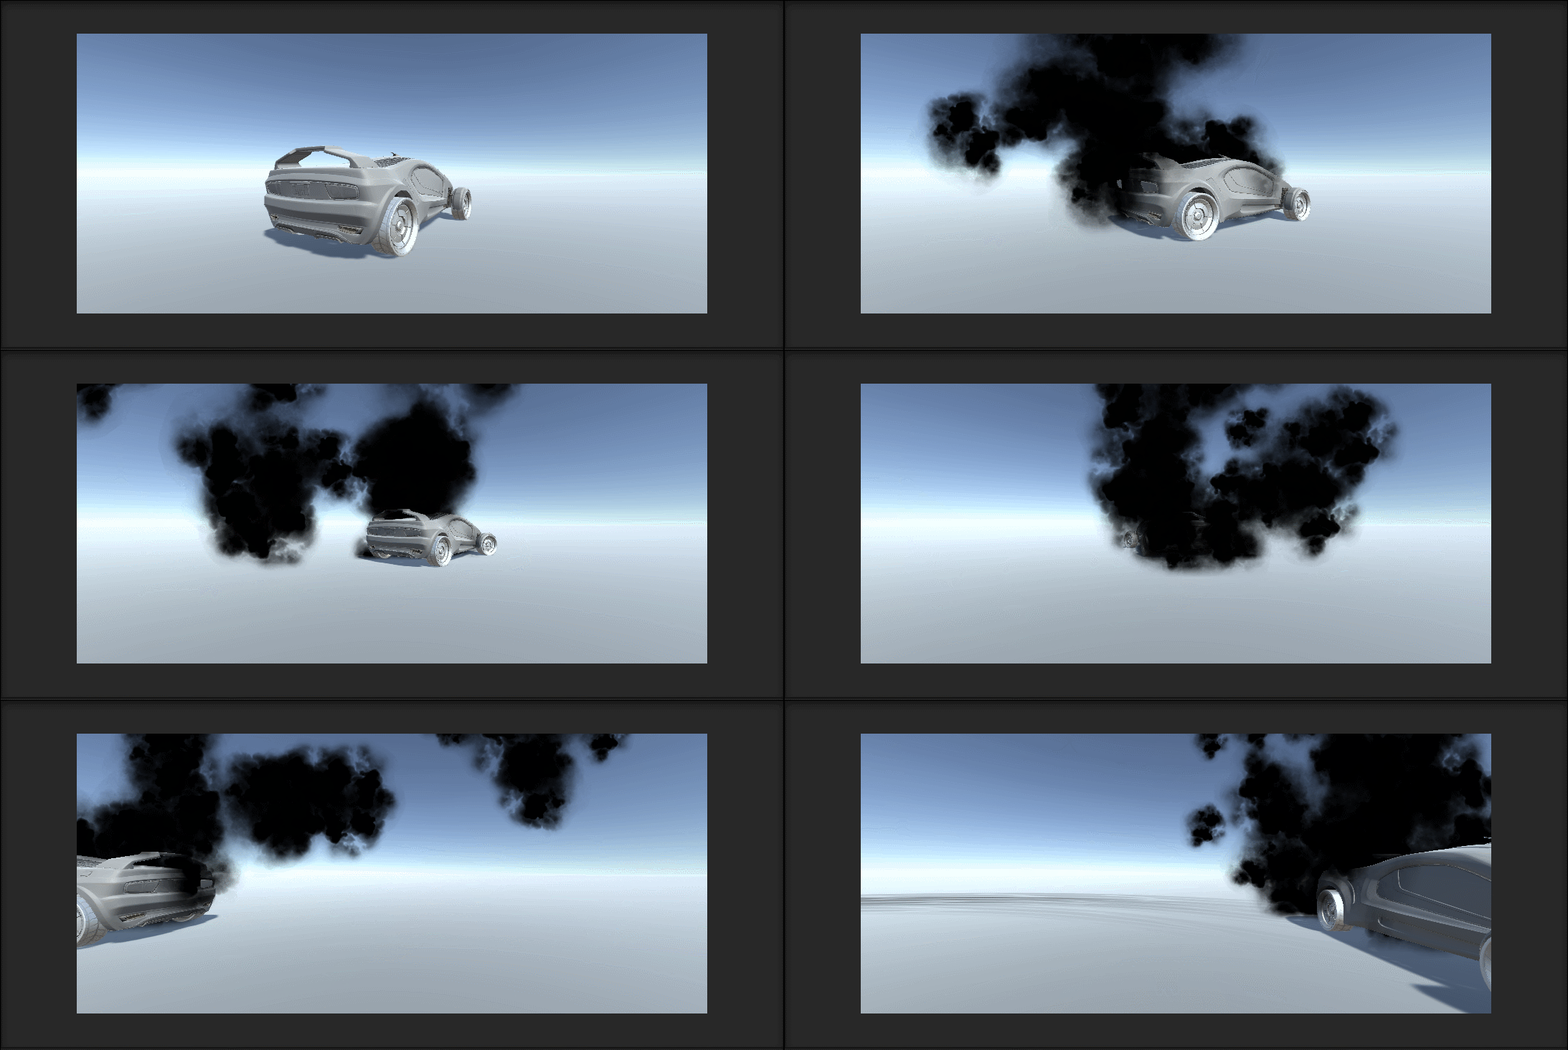
本人的“3D游戏编程与设计”系列合集,请访问:
https://www.yizuodi.cn/category/3DGame/

Comments | NOTHING
<根据相关法律法规要求,您的评论将在审核后展示。